怎样使用fontforge将图片转换成字体 日期:2025-04-28 人气:14 - 准备字帖 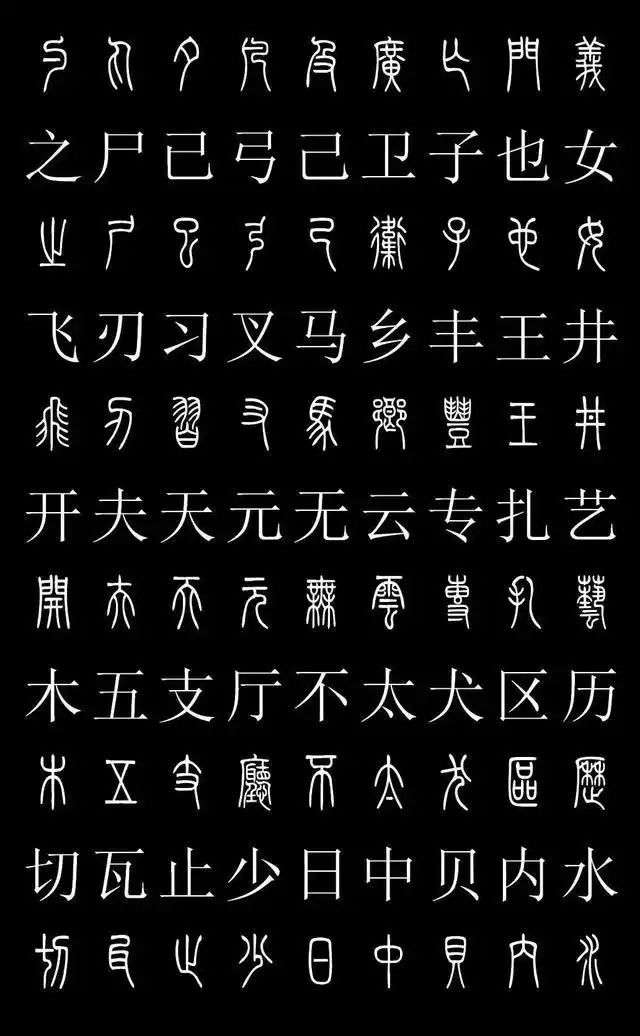 - 将字体处理成白纸黑字,使用ps反相功能,菜单:图像->调整->反相 将文字切成正方形的一个个小图  - 将每个图片的名字使用汉字对应的unicode重命名,如上图的`才`字则命名为`624d.jpg` - 打开fontforge,新建一个字体 - 点击菜单:Encoding->Compact,清空字体 - 点击菜单:File->Execute Script,执行如下python脚本 ``` import os,fontforge; imgsPath = "D:/workspace/demo/font/data/01"; imgs = os.listdir(imgsPath); font = fontforge.activeFont(); i = 0; for index in range(len(imgs)): fontforge.logWarning("index:"+str(index));imgName = imgs[index][:-4];fontforge.logWarning("imgName:"+imgName) glyph=font.createChar(int(imgName,16),"uni"+imgName); layer=glyph.foreground; if layer.isEmpty(): try: glyph.importOutlines(imgsPath+"/"+imgs[index]); except: fontforge.logWarning(str(index)+"/"+str(len(imgs))+":"+imgsPath+"/"+imgs[index]+"is error"); continue; else: glyph.autoTrace();glyph.simplify();glyph.activeLayer=0;glyph.clear();i=i+1; fontforge.logWarning(str(index)+"/"+str(len(imgs))+":"+imgsPath+"/"+imgs[index]+"is OK"+str(i)) if i==50: break; else: continue; ``` >imgsPath改成上一步切出的小图的路径,路径中不要有中文,每个文件夹放50个小图,新建多个文件夹 - 全部导入完毕之后,control+a,全选,点击菜单Metrics->Set Width,设置宽度为1000 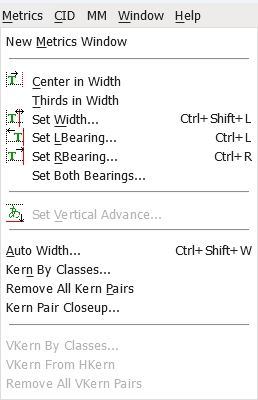 - 点击菜单:Element->Style,Expand Stroke可以调整字体样式 - 点击菜单:Element->Font Info,填写字体信息 - 点击菜单:File->Generate Fonts,生成字体,字体类型选择TrueType 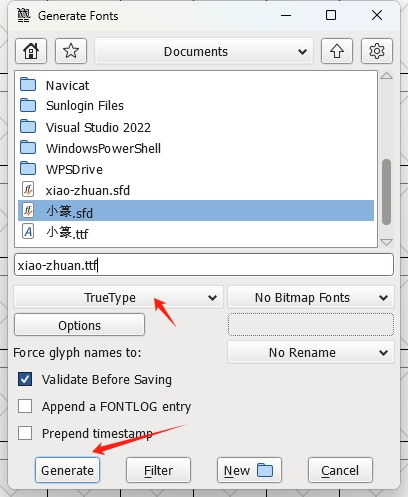 - 如果有错误可以忽略,继续点击generate 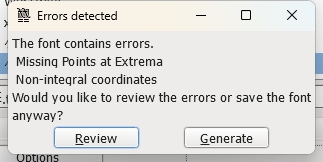 - 将生成的字体用到网站中查看效果 ``` @font-face { font-family: 'Engrav'; /* 你可以给字体起一个名字 */ src: url('小篆.ttf') format('truetype'); /* 字体文件的路径 */ font-weight: normal; /* 定义字体的粗细 */ font-style: normal; /* 定义字体的样式 */ } ``` ### 鸣谢 - [做字体](https://www.zuoziti.com/#/rename) - [csdn**xian_wwq**](https://blog.csdn.net/tpriwwq/article/details/104282520) - [博客园](https://www.cnblogs.com/passwordgloo/p/17519848.html) 标签: 上一篇:mysql权限管理命令 下一篇:Electron将3d模型打包为exe格式 随便看看 2026-01-08 如何使用mvn命令导入依赖 2026-01-07 mysql权限管理命令 2025-12-30 哎和唉的区别在哪 2025-12-30 印章小知识——各部分名称 2025-12-15 明初大移民的影响 留言